I have glued together the broken
sections again. Then filled in
all the gravel rash and hanger
damage. A nice sand down and I
started on the few mods I would
like to do. First is adding a
rudder. I sliced off the rudder
section and sanded it up. I got
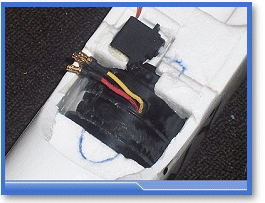
the soldering iron and bored out
a hole in the foam for the servo
to sit under the rudder. It will
directly drive the rudder so there
will be no linkages to see. I
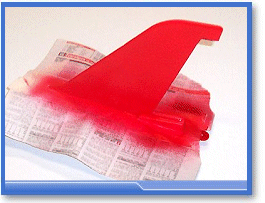
just put a coat of paint on the
fin but as it always happens -
ran out of paint half way through
the spray job. I will now be starting
on installing the tail/elevators,
which I will make full surface
control.
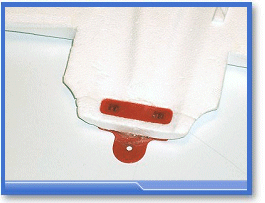
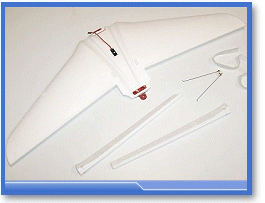
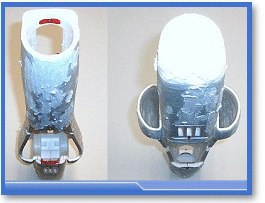
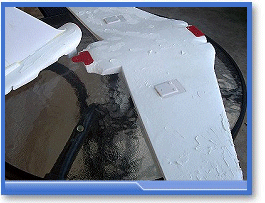
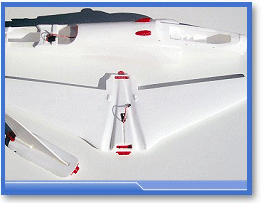
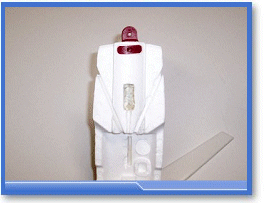
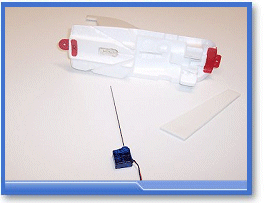
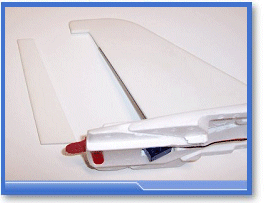
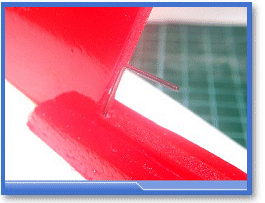
Here's a few photos of the bones
of the rudder mod:
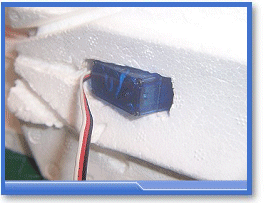
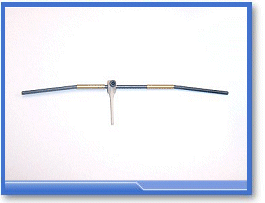
I got the bits I needed to make
my tail controls and built it
up:
I decided to use iron on covering
on the tail pieces but the heat
from the gun while shrinking it
also warped the plasticy foam
the tails are made out of. Whoops!...
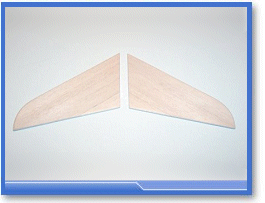
so I had to make up a set of balsa
tail halves.
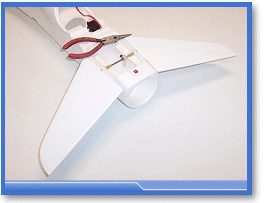
I epoxied the brass sleeves in
and then did a test fit of the
tail fins to see how the system
aligned up and looked. I'll mount
them (the tail fins) once the
fins and the body are covered
(the ruler is just there to hold
the fins in place while I took
the photo).

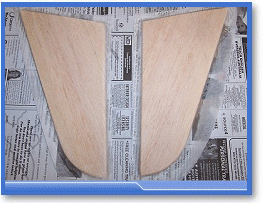
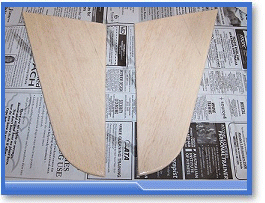
The Poly C process went very
smoothly. A few wrinkles I had
sanded out easily and the finish
is quite smooth and tough.
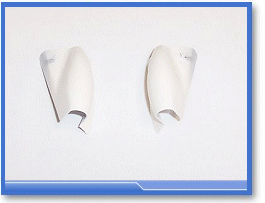
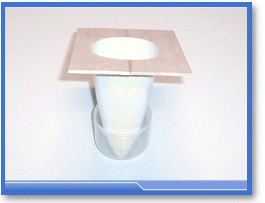
I taped the busted nose back
together and made a template to
hold the fuse end of the nose
in shape as I will be making a
mold to make a new nose up. Something
a little stronger than the plastic
cup material this one is made
out of. I skinned the bottom of
the wing in white and red tips.
i closed up the gaps that were
for the main wing pushrod exits
in the fuse. I painted the red
attachments on the rudder piece
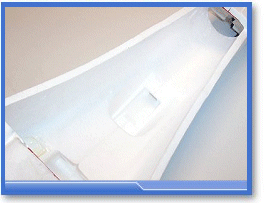
white. I also popped out the 2
air scoops at the rear of the
cockpit and painted them white.
I have covered the fuse in tissue/polyC.
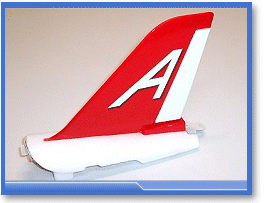
Decided to put the lettering
on the tail:
I finished the fuse - I only
put the large NAVY decal on so
far though. I also decided to
make balsa ailerons as the original
foamies are just too flimsy.
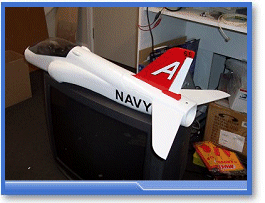

Finished the top of the wing.
Did the canopy and added some
more decals. The red at the intake
gets done the same time I do the
nose.
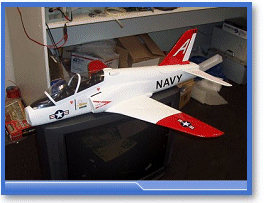
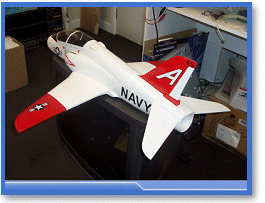
Ailerons are now done.
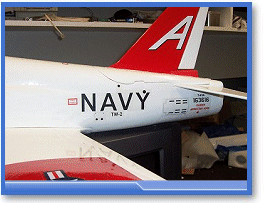
I finally got around to doing
the fibreglass nosecone too. Now
to paint it up.
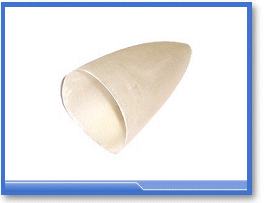
Nose cone is now done.
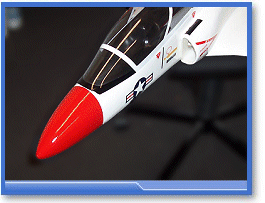
I got the nose fitted and added
the red paint to the fuse leading
to the nose. I replaced the rear
fuse decals with better quality
ones and added a few to the wings.
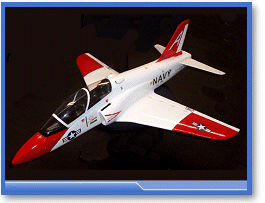
I ended up just cutting some
vinyl for the anti-glare black
section on the nose. I cut a really
thin strip and stuck it on to
mark the outline - traced that
on tissue paper then dropped it
onto the vinyl and cut out the
shape. I pulled off the outline
and stuck down the cutout. I also
placed the nose numbers on too.
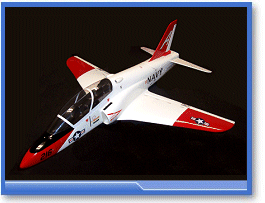
Once I make and fit the F/G ducts,
I can paint each lip of the intakes
red. That will then be the outside
finished.
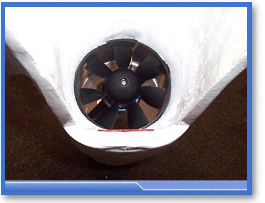
After a long, fruitless search
I failed to find a replacement
SAPAC fan so I decided to try
one I found on Hobby City that
looked like it could do the job.
What a beauty! It feels like twice
the thrust of the original unit,
a wattage powerfan with a 3600
inrunner, I was going to put in
there! After a bit of filing,
drilling, grinding and more sanding
I got the shroud right to fit
the motor. More grinding and sanding
got the outer diameter down enough
to fit into the space allocated
for it in the fuse. Some cutting
away of the foam as this shroud
was longer both ways, and I got
it mounted.
I had to trim up the bits of
foam I cut out and then reglued
them back in place. Finally! The
motor is in.
| Progress
Report - Saturday 07
June 2008: |
|
I am in the process of making
intake duct tubes for the Hawk.
Once done we can start aiming
for a miaden flight!